Sunday, June 27, 2010

Paint Sprayer Take Two

After getting some pointers on how to use the sprayer and finding the right consistency of paint, this time was a great success! I used the ironclad paint from Benjamin Moore because there is no need for a primer or top coat. I used 4 parts paint and 1 part water.


This time around I had an old side table, a small frame and a little stool to practice on before I did something I really liked.


This huge frame is the something I really liked. I have been wanting to paint this for a while but I wanted to wait to use the sprayer. I bought it at a garage sale with a mirror for fifteen dollars, great deal don't you think? I'm going to hang it above the faux mantel in the dining room.

The white paint really freshened it up.
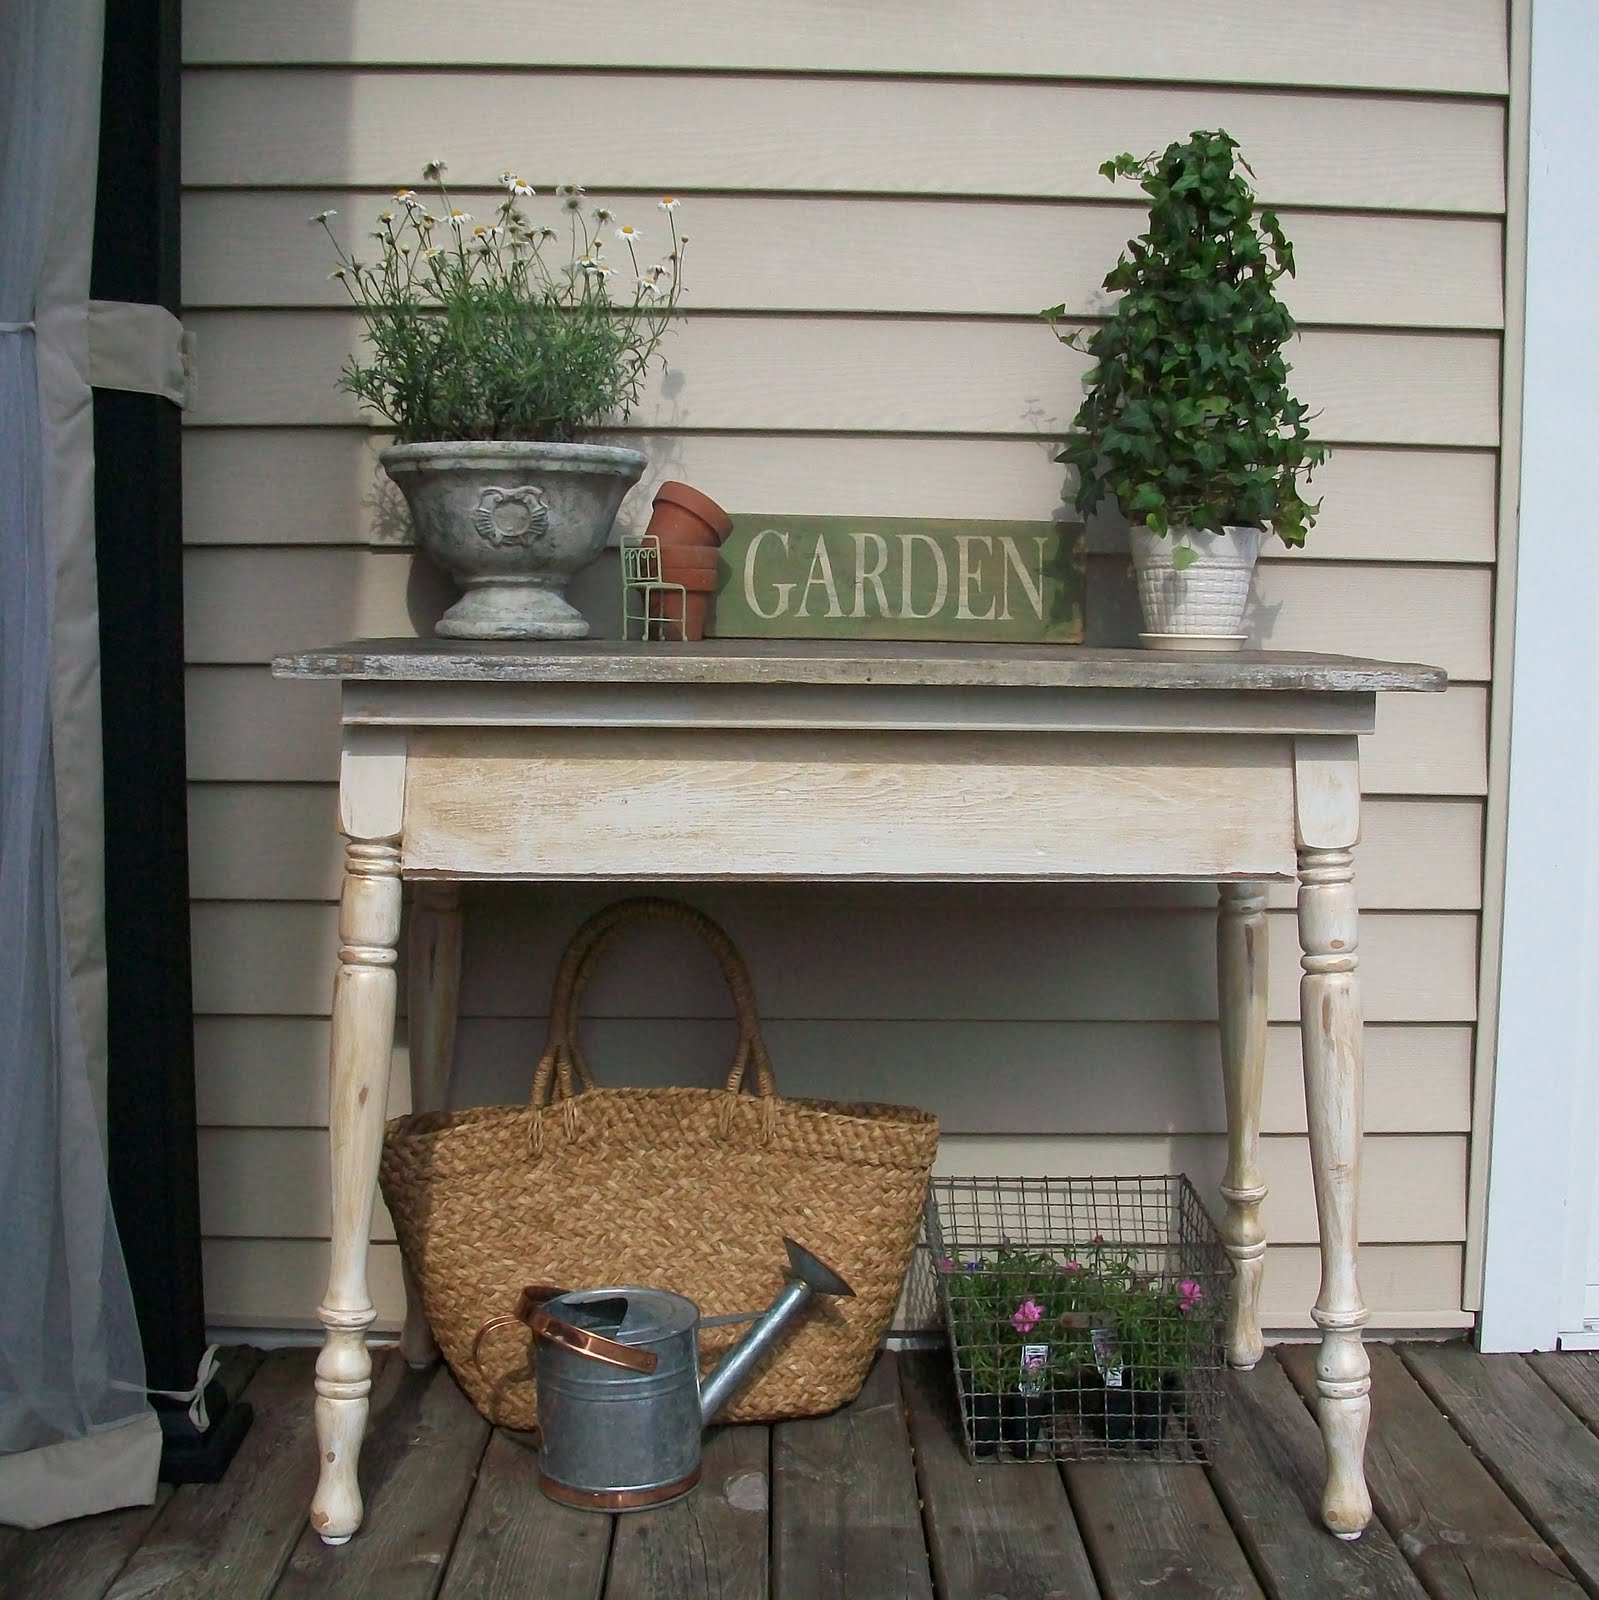
Old table before


I think it would look great painted a fun color but my main goal was to get the big mirror painted and I wanted that to be white, therefore everything else was white too. I almost forgot about this little table, it was hiding in the garage rafters.... I'm glad it was there for me to practice on. The finish turned out really nice and now I'm ready to find a new home for it.

The hard part about using the paint sprayer for me is to remember to do light coats and not go crazy so I don't end up with drips. Oh, and don't try this at home with your flip flops on, my toe nail polish is speckled with white paint! Common sense I know.

                   motivate-me-monday

Friday, June 25, 2010

Paint Sprayer Take One

Last weekend I was ready to try out the paint sprayer I bought off craigslist. It was a great deal for five dollars and has never been used. I didn't say new because it's from 1986!

I have such a passion for transforming old pieces of furniture and giving them a new life. I'm hoping this will be the answer to get a better finish and get the job done quickly. Time is of the essence when you have a four year old!

                                                                   Here she is circa 1986.

My sweet husband got me all set up with a spraying station. Very professional, don't you think?


I started by practicing on some old frames that I forgot I had from a garage sale. Unfortunately I couldn't get the paint to spray nice and even so it was time to pack it up for the day. Off I went to do a little reading on the subject and find out how to properly thin the paint.

The weekend is here and I am ready to give it another try. I have three friends waiting for me to perfect my technique so I can spruce up some of their finds. I am so excited about that...wish me luck!

Thursday, June 24, 2010

The New Look At Sixty Fifth Avenue

Sixty Fifth Avenue got a makeover! The perfect person for the job was Kelly @ Fabulous K Creative. She even made a cute new button for me. Thank you so much Kelly, I love it!
What do you think?


Tuesday, June 22, 2010

Playroom Mirror

I did a post here a while ago about the mirror I spruced up for the playroom. I wanted to share a couple new pictures to show how we are using it. We used little bird handles from Anthropologie to anchor the mirror because of the weight, this old mirror is heavy! They were also intended to be used as hangers for the little ones dress up clothes and jewelry.


Here is the mirror before I gave it two coats of white paint.


We don't have a lot of wall space for separate hooks so this has been a perfect solution for us.
I'm thinking about making a smaller one for my jewelry!

I am participating in the CSI Project again this week. The challenge this week is for frames, art and wall decor. If you haven't been over to this new site, check it out. They have a specific theme for each week and you compete to be the judge’s top pick. It's a lot of fun!
Visit thecsiproject.com
                                                                Blue cricket design

Monday, June 21, 2010

Container Planting

Thank you sweet bloggy friends for all the wonderful get well wishes! I loved reading your advice and kind words. After a very long week, I am starting to feel better.

Buddleia davidii 'Peacock' Photo: Courtesy of White Flower Farm

I found this picture the other day and love everything about it. The container and the flowers are gorgeous! The main plant used in this container is a butterfly bush or buddleia davidii. And yes, they really do attract butterflies. We dug a new garden and planted two of these a while ago and they are just starting to bloom. I never thought to plant them in a container... so pretty.

Have a wonderful day!

Wednesday, June 16, 2010

Momma Doesn't Get A Sick Day


Hello friends, I don't have anything interesting to share with you today. I am sick and feeling quite miserable. I'm having crazy coughing fits and wanting sleep at all hours of the day. Thank goodness my tea making hubby gets home at 4:00 to take over or I don't know what I would do. I do know I would rather it be me than the little one. Off to bed I go!

Sunday, June 13, 2010

Girl. Inspired.

It all started before the little one was born. No, it was when my husband was a little boy. His mom would bake and decorate a special birthday cake for him every year. My husband has such happy memories of this growing up. He has mentioned oh so subtlety how he would love for me to do the same when we had a family of our own.
See, I am not a cake decorating kind of girl. Cooking and baking does not make me happy like some people. So for four years now, without my hubby's blessing, the little ones birthday cake has been bakery made.

But today, I am inspired!


The talented and sweet Stef from Girl. Inspired made these adorable cupcakes and mini cake for her daughters first birthday. They are so cute I can't stand it!

And she sews!

I think I may surprise everyone with a homemade cake next year...
Go check out Girl. Inspired. here if you want to be inspired like me.

Wednesday, June 9, 2010

Butterfly Artwork And A Winner!

I've had a lot of questions about the butterfly artwork hanging in our playroom. This is such an easy project to do, and you don't have to limit yourself to butterflies.


After finding a Martha Stewart punch and trying it out on everything in sight, I found what worked best for my project. It sounds silly, but using this punch is so fun it can be addicting.


I finally found a use for all my old magazines.

Finding textures and colors you like is part of the fun.


I printed a layout using Excel so it would be easy to space the butterflies.


I laid the template over my project paper and used a sharp pencil to transfer the positions. I used textured scrapbook paper.
Once I had my layout, I used glue dots to attach the butterflies. I bent the wings a bit to give them a three dimensional look.


The matte has a plastic edge that creates a deeper space. I bought the frame and matte together as a set at Hobby Lobby.


Now you have a one of a kind piece of artwork!


I'm participating in the CSI project. This week is a Martha Stewart-inspired” Challenge.
The Martha Stewart Craft Department are the guest judges. Stop by and check out all the great projects!


Visit thecsiproject.comLinking up with Someday crafts  get-your-craft-on-tuesday frugalicious-friday
                                                             Funky Junk Interiors hope studios


linkparty

The winner of the CSN giveaway is...


Handbags n pigtails Congratulations!!

Thursday, June 3, 2010

I'm Having A Giveaway!

The giveaway is now closed.
I'm excited to be doing a CSN giveaway! This is a great opportunity to win a gift certificate to put towards anything you like. CSN Stores has over 200 online stores where you can find everything from cookware to cribs and even your most specific needs like LED lighting or laptop cases!
I have been on the look out for a couple of swing arm wall lamps and found a few that would be perfect from LED lighting.

CSN Stores has generously donated a $60 gift certificate to use as you wish on any of CSNs  200+ websites. The choice is up to you!

1. Leave a comment stating you are already a follower or becoming one.

2. For a second chance, leave a second comment telling me you posted about the giveaway or added it to your sidebar.
    Please leave your email address if you don't have a blog.

The giveaway ends June 8th (midnight) and I'll announce the winner, chosen randomly the next day.

Good Luck!!

Wednesday, June 2, 2010

Multipurpose Potting Table...Done!

If you have been reading along with me for a while, you will remember my post about wanting to find a potting table for our deck. I wanted it to be versatile and use it for planting and extra table space for entertaining. After collecting two old barn doors and an ugly table this is what I ended up with.


The old barn doors were found on craigslist for free, I knew this one would make a fabulous table top. Now the search was on for some legs.

A couple of weeks later I found the table for eight dollars at a garage sale. It had a hideous laminate top but the legs were wood and I knew they would work.


After taking the table apart, a new apron was made with one of the old barn doors. My husband used a 2x10 on top to give it some height.


Then I primed and painted with two coats of exterior paint.


After the paint was dry, I brushed this glaze on and wiped it with a damp cloth.


Then came the fun part...the hand sander! My first time using one.


  I would have been there all day distressing this by hand.


Here is a close up of the barn door turned table top.


The clock needs to come down a bit.


For less than forty dollars I have a multipurpose potting table that will get a lot of use this summer. I can already picture it with candles burning and a pitcher of frozen margaritas!
Visit thecsiproject.com
Participating in the CSI Project
 

Site design by FABULOUS K CREATIVE